How to Reduce STL File Size
If you’re a 3D modeling enthusiast, designer, or engineer, you’ll likely face the challenge of managing large STL files. we are going to learn how to Reduce STL File Size. STL files are the go-to format for 3D modeling and printing, their size can sometimes slow down workflows, strain storage, or complicate sharing.
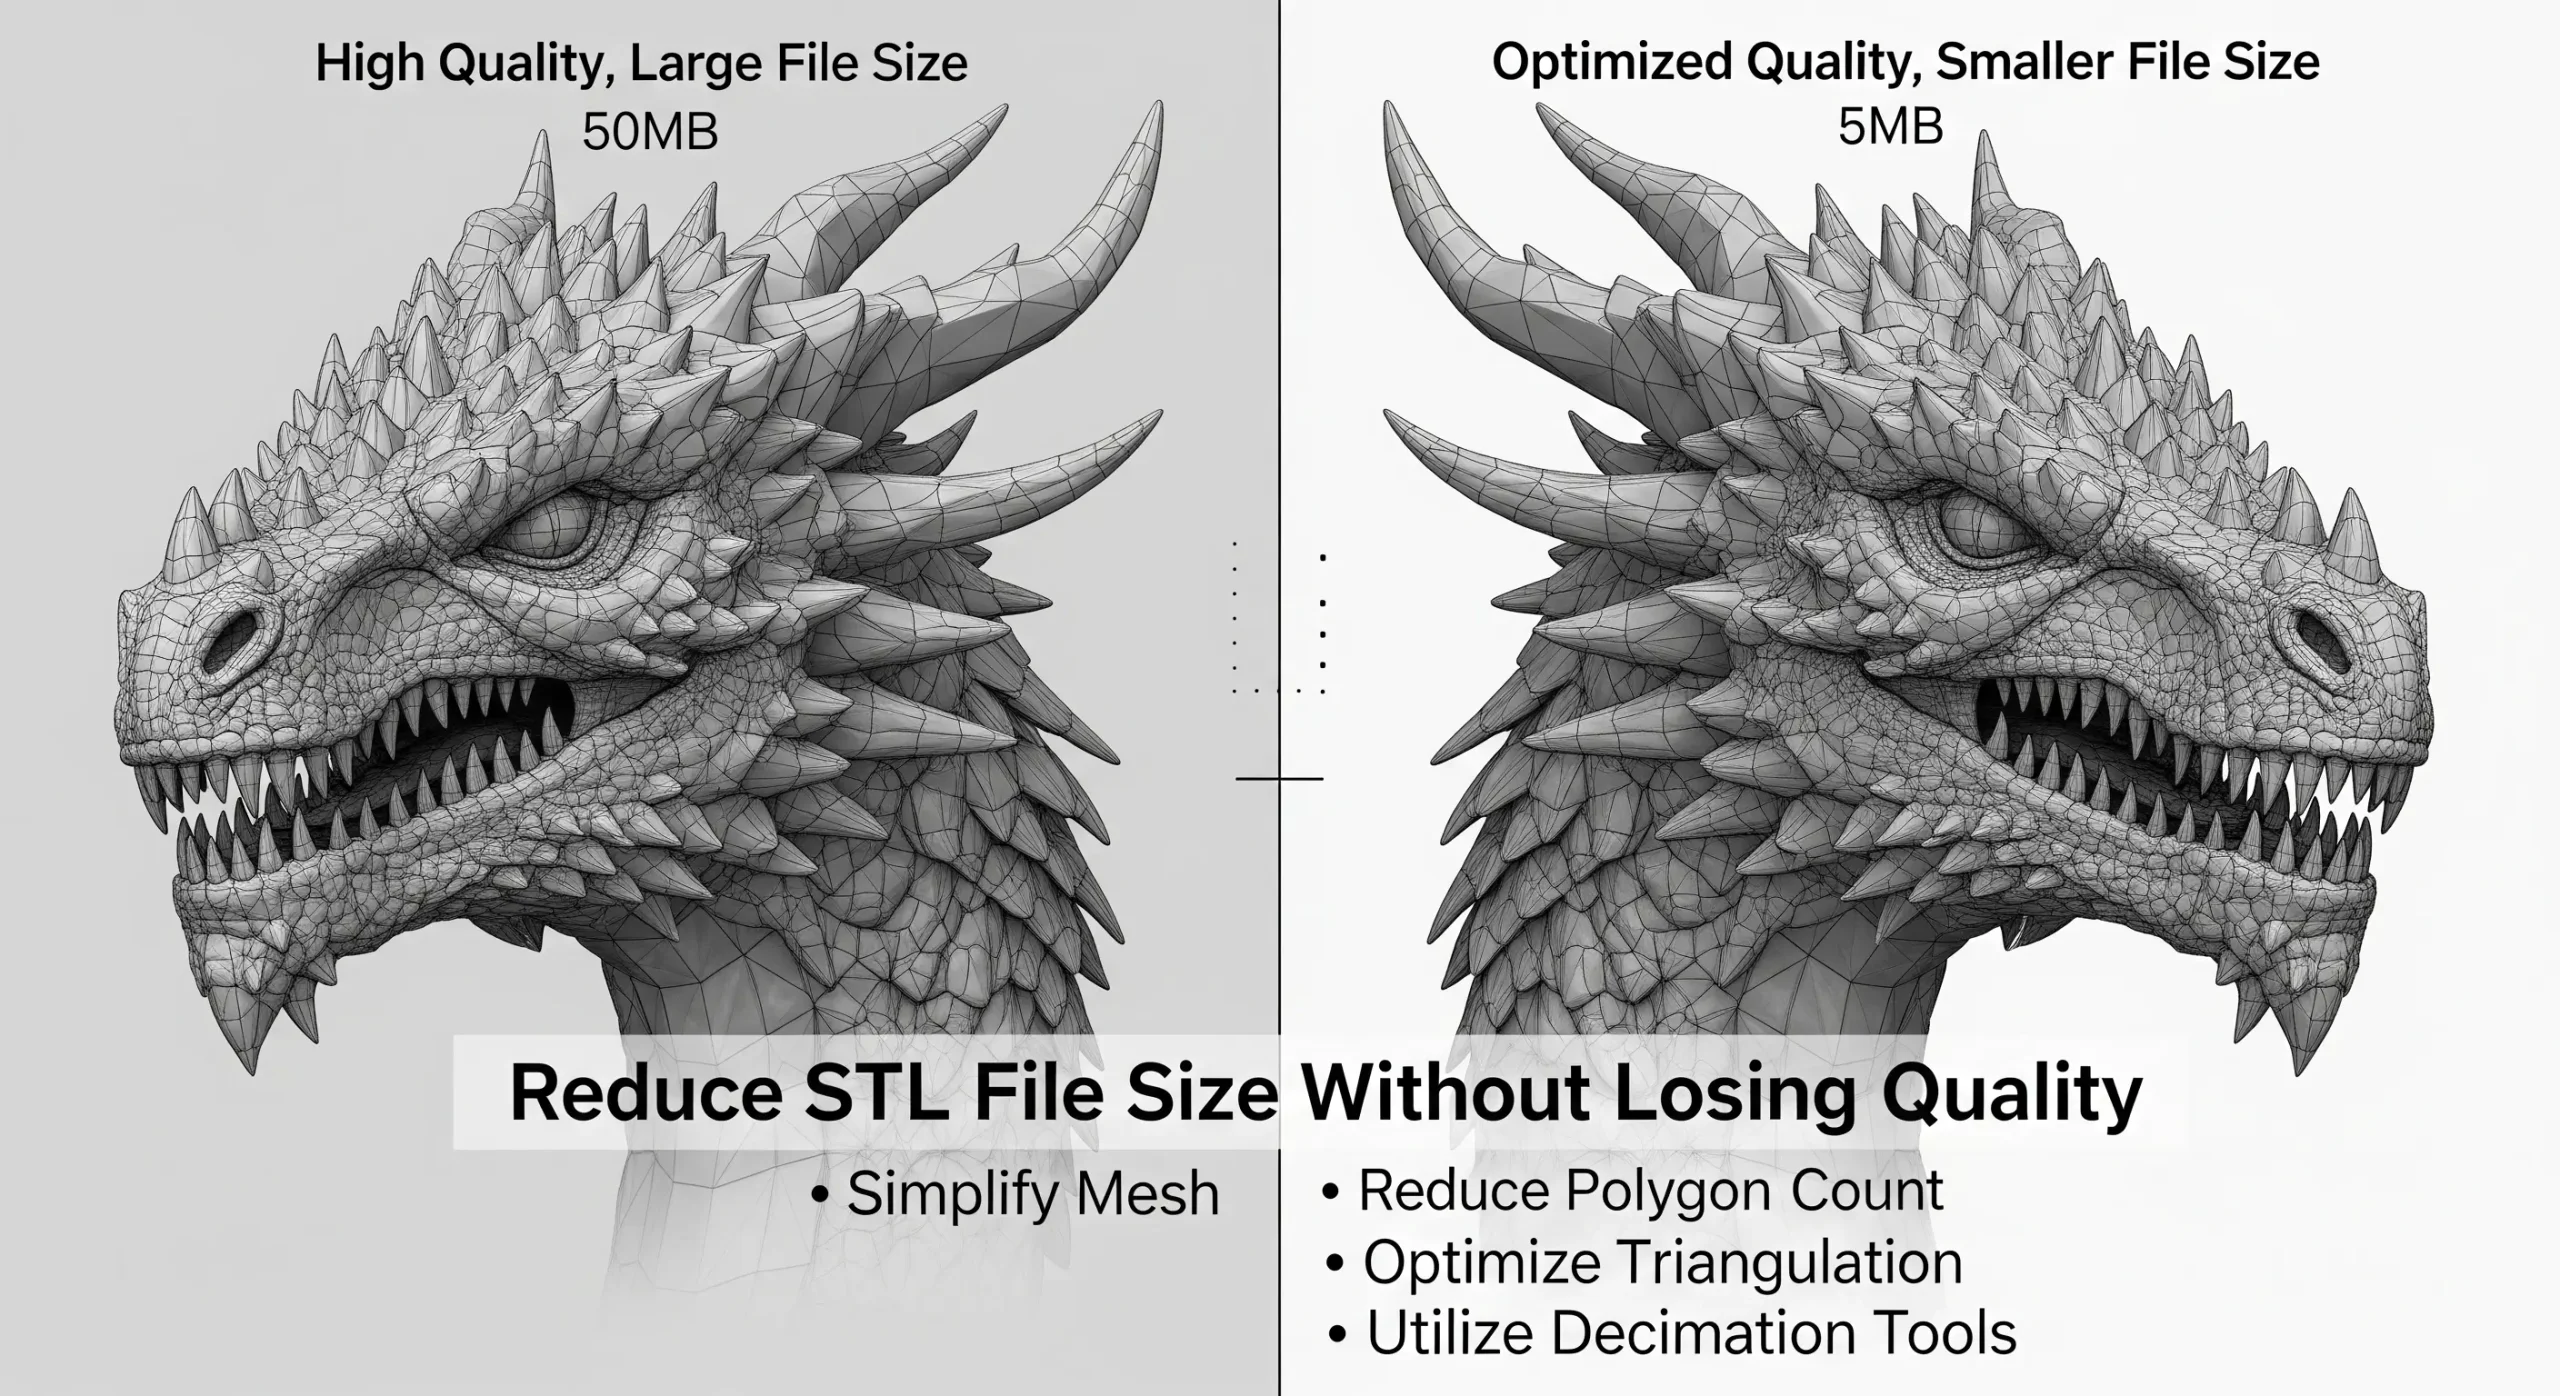
The good news? You can reduce STL file size without sacrificing quality! In this guide, we’ll explore practical methods to optimize your STL files efficiently, ensuring your 3D models remain pristine while becoming more manageable. In this blog, we will share some ways How to Reduce STL File Size Without Losing Quality
Why Reduce STL File Size?
Before diving into the how-to, let’s understand why this matters. Large STL files result from high polygon counts or excessive detail, which can:
Slow down slicing software.
Increase upload and download times.
Overwhelm lower-end 3D printers.
How to Reduce STL File Size Without Losing Quality

By reducing file size strategically, you can start the process without compromising the final print’s accuracy or aesthetics. to read more blog posts you may read: NBY IT Blog
1. Simplify the Mesh with Decimation
One of the most effective ways to shrink an STL file is by reducing its polygon count through mesh decimation. STL files store 3D models as a collection of tiny triangles. The larger the file, the more triangles— but not all of them are necessary for quality.
How to Do It:
Use software like: Blender, MeshLab, or Fusion 360.
In Blender: Import your STL → Enter Edit Mode → Use the “Decimate” modifier. Adjust the ratio (e.g., 0.5 to halve the polygons) while previewing the model.
In MeshLab: Apply the “Quadric Edge Collapse Decimation” filter and tweak settings to balance size and detail.
2. Adjust Model Resolution
High-resolution STL files often include more detail than your 3D printer can reproduce. Most consumer printers have a layer height of 0.1–0.3mm, meaning ultra-fine details might not even show up.
How to Do It:
Lower the resolution or chordal tolerance when exporting your STL from CAD software (Blender, SolidWorks, Tinkercad).
Look for export settings like “Deviation” or “Angle Tolerance”. Increase deviation slightly or widen the angle to reduce triangle count.
3. Remove Unnecessary Geometry
Sometimes, STL files contain hidden or redundant elements like internal structures or overlapping surfaces that inflate file size without adding value to the print.
How to Do It:
Open your file in a tool like Netfabb or 3D Builder.
Inspect the model for internal meshes or non-manifold geometry (edges that don’t connect properly).
Use the “Repair” or “Clean Up” function to eliminate these extras
4. Convert to Binary STL Format
STL files come in two formats: ASCII and binary. ASCII files are larger because they store data in a human-readable format, while binary STL files are compact and machine-friendly.
How to Do It:
Most modern 3D modeling tools (e.g., Cura, PrusaSlicer) let you save as binary STL.
In Blender: Export your STL and check the “Binary” option.
If your file is already ASCII, use a converter like MeshLab to switch formats.
5. Compress the File
Compression is a simple solution if you’re just storing or sharing the STL file. Tools like WinRAR, 7-Zip, or even your OS’s built-in zip function can shrink the file significantly.
How to Do It:
Right-click the STL file, select “Compress” or “Add to Archive,” and choose a format like .zip or .rar.
Unzip it when you’re ready to use it—quality remains untouched!
Best Tools for Reducing STL File Size

Here’s a quick rundown of top tools to help you optimize STL files:
Blender – Free, powerful, and great for mesh editing.
MeshLab – Open-source and perfect for decimation and repairs.
Netfabb – Excellent for fixing and optimizing complex models.
Fusion 360 – Ideal for professionals tweaking designs pre-export.
Final Thoughts
Reducing STL file size without losing quality is all about smart optimization:
Start with decimation and resolution tweaks.
Clean up your geometry and switch to binary format.
Test your changes with a small print to confirm the results meet your standards.
By mastering these techniques, you’ll save time, storage, and processing power—making your 3D printing projects smoother and more efficient. Ready to try it out? Grab your STL file, fire up your favorite tool, and see the difference for yourself!


