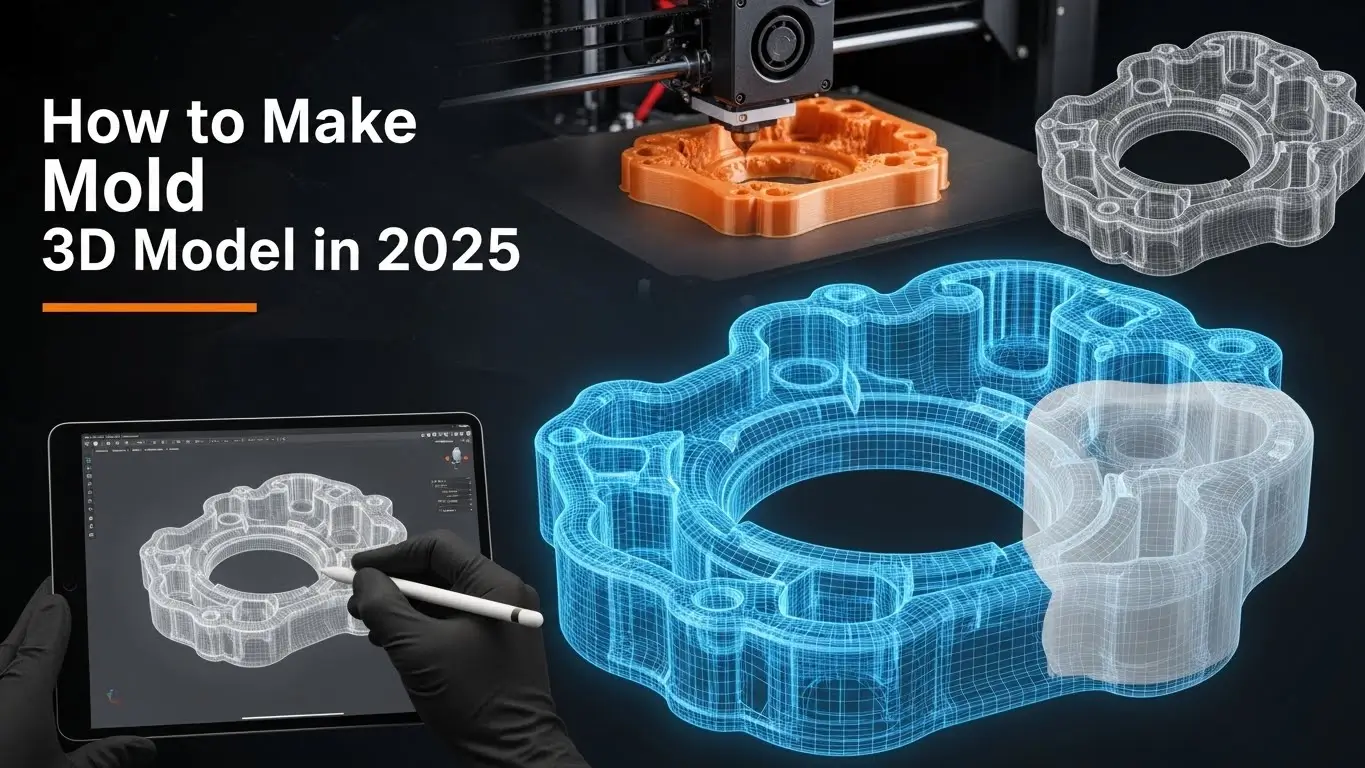
In 3D modeling and 3D animation, creating material versions of digital designs is a powerful way to bring ideas to life. Whether you’re working on a prototype, a sculpture, or a part for a bigger project, knowing how to make a mold of a 3D model is an essential skill. This guide will walk you through the simple process of creating a professional-quality mold from any 3D model. In this blog, we will describe “How to Make Mold of the Model?”
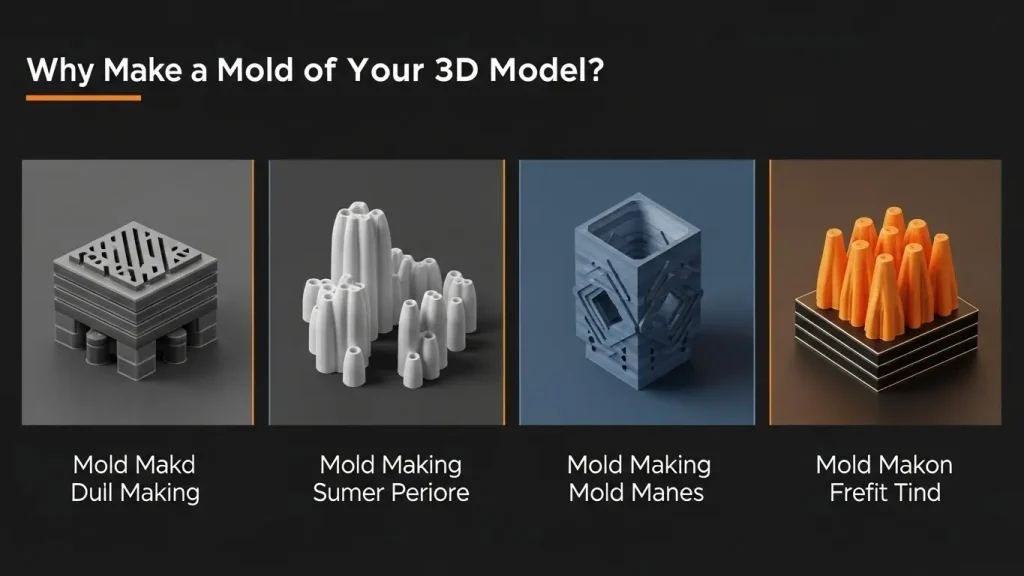
Why Make a Mold of Your 3D Model?
How to Make Mold 3D Model: Molds are essential for mass production, prototyping, and even artistic replication in 3D modeling. Using materials like resin, plaster, or even food-grade silicone for edible creations, you can create a mold that will allow you to replicate your original 3D model several times accurately. Molding real models can also help 3D animators create promotional models or stop-motion figures. Additionally, molds enable iterative testing of physical designs, allowing animators and modelers to refine tangible assets for projects like film props or collectible figures.
Finalize the 3D Model
Before beginning the mold process, you must finalize the 3D model. Create a 3D design using software like 3ds Max, Maya, Blender, or SolidWorks. Ensure the model is optimized for physical production by checking for non-manifold geometry, overlapping faces, or thin walls that could complicate printing or molding. If using a 3D printer, verify that the model is watertight and manifold. Print your 3D model using materials that can withstand the mold-making process. PLA, ABS, and resin are commonly used for moldable prototypes. For high-detail models, consider resin printing for sharper surface fidelity. If you’re working in 3D animation, choose a material that captures fine facial or surface details critical for character models or stop-motion assets.
How to Make Mold 3D Model

Materials You Will Need
How to Make Mold 3D Model To make a mold of a model, gather the following:
- Silicone rubber mold-making kit (e.g., Smooth-On or similar)
- Silicone or alginate (for detailed or organic shapes)
- Mold release agent (to ease demolding)
- A container (larger than your 3D model)
- Mixing cups and sticks
- Modeling clay (optional, for complex shapes or two-part molds)
- Your finished 3D model
- Protective gloves and safety goggles (to handle chemicals safely)
- Vacuum chamber or degassing equipment (optional, for bubble-free silicone)
Prepare the Model and Container
How to Make Mold 3D Model: Choose a container that can fit your 3D model while allowing 1-2 inches of space around it. Secure the model to the bottom of the container using a dab of hot glue or clay. For complex models with undercuts, consider creating a two-part mold by embedding half the model in clay to form a seam line. Ensuring the model is stable is essential for accurately capturing all surface details in professional 3D modeling workflows. Apply a thin layer of mold release agent to the model to prevent silicone from sticking, especially for intricate designs.

Combine and Add the Silicone
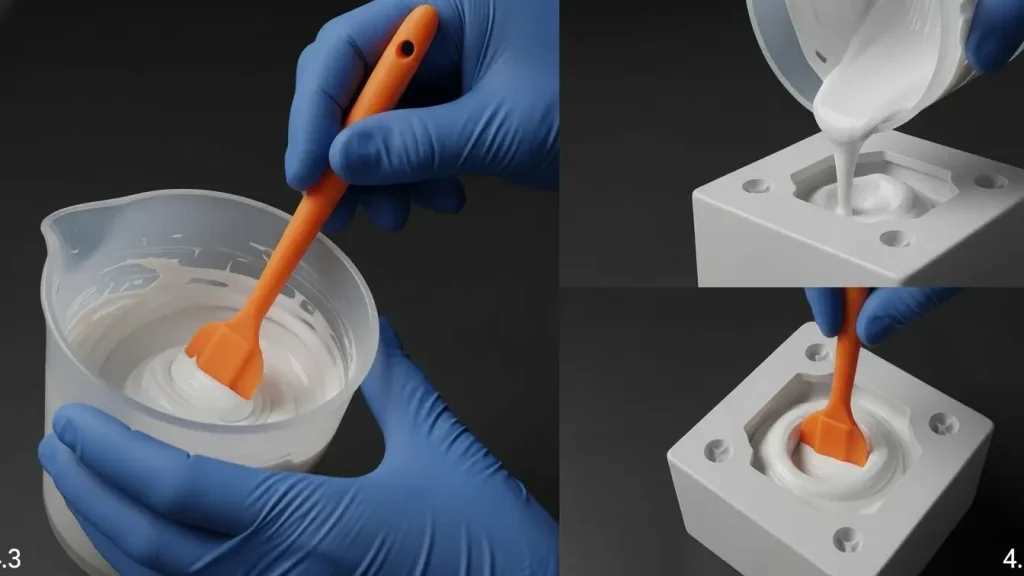
How to Make Mold 3D Model Mix the two ingredients as directed in the silicone mold-making kit. Stir thoroughly to ensure an even consistency, as improper mixing can lead to uncured patches. Slowly pour the silicone at a high point or corner of the container. This meticulous pouring method reduces air bubbles, which is an important step for artists doing character modeling or intricate 3D animation. For bubble-free results, consider using a vacuum chamber to degas the silicone before pouring, especially for high-detail molds used in animation.
Allow the Mold to Cure
How to Make Mold 3D Model Depending on the brand of silicone, curing time can range from 30 minutes to several hours. Refer to the manufacturer’s instructions for precise curing times and temperatures, as environmental factors like humidity can affect the process. Exercise patience and refrain from moving the setup during this time to guarantee a neat, expert mold finish. For large molds, monitor for heat buildup, as some silicones generate exothermic reactions during curing.
Demold Your Model
How to Make Mold 3D Model Carefully remove the entire mold from the container after the silicone has completely cured. Remove the mold from your 3D model with gentle pressure. For delicate models, use a scalpel or plastic tools to avoid damaging the mold or model during separation. A clean demolding procedure guarantees that your reproductions preserve the fine details necessary for animation rigs or tangible storytelling when duplicating assets for 3D animation projects. Inspect the mold for imperfections like tears or air pockets, and consider remaking it if flaws could affect casting quality.

Start Casting
You can now cast your mold! Several copies of your original 3D model can be made by pouring resin, plaster, wax, or other materials into the mold. Choose a casting material compatible with your mold and project goals—e.g., polyurethane resin for durable prototypes or epoxy for clear finishes. Apply a mold release agent before casting to extend the mold’s lifespan and ease removal. Casting enables designers and studios to produce props, prototypes, and custom pieces in 3D modeling and animation efficiently and affordably. For animation, consider painting or post-processing castings to match digital renders for consistent visual storytelling.
Conclusion
How to Make Mold 3D Model: Gaining proficiency in mold-making can greatly increase your productivity and inventiveness, particularly in domains such as 3D modeling and animation. Making a mold of your 3D model is a clever, scalable way to replicate complex character designs or construct components for bigger projects. By mastering this process, you can bridge the gap between digital and physical media, opening opportunities for creating collectibles, functional prototypes, or stop-motion assets. Experiment with different materials and techniques to refine your workflow, and always prioritize safety when handling chemicals or tools.
What does “3D model to mold” actually mean?
“3D model to mold” refers to the creation of a physical mold based on a digital 3D design, which can then be used to accurately manufacture or cast products.
Which 3D software is best for creating mold-ready 3D models in 2025?
In 2025, the top software for creating mold-ready 3D models includes Autodesk Fusion 360 and SolidWorks for precision manufacturing, and Blender for flexible modeling workflows. These tools ensure accurate geometry and clean topology for reliable mold production.
What should I consider before designing a mold in 3D?
Before designing a mold in 3D, consider the material type, part geometry, draft angle, wall thickness, undercut, and ease of breakage so that the mold functions properly and produces high-quality parts.
Can I use a 3D printed model to create a physical mold?
Yes, you can use a 3D printed model to create a physical mold, as long as the print is accurate, durable, and properly finished to ensure a smooth mold surface and precise final product.
How do I design a 3D model for a silicone or resin mold?
To design a 3D model for a silicone or resin mold, make sure it has the correct draft angle, uniform wall thickness, smooth surface, and no undercuts to ensure easy breakage and high-quality casting results.
What file format is best for mold-related 3D modeling?
The best file formats for mold-related 3D modeling are STL, STEP, and IGES, as they preserve precise geometry and are widely compatible with CAD software and manufacturing tools.
What are some common mistakes beginners make when creating mold 3D models?
Common beginner mistakes include ignoring draft angles, uneven wall thickness, undercuts, poor surface finishes, and not considering material shrinkage, which can result in molds that are difficult to cast or produce defective parts.
Is mold 3D modeling different for industrial production and DIY projects?
Yes, mold 3D modeling is different: industrial production requires high precision, tolerance control, and durable materials, while DIY projects can be simpler, with more flexibility in design and less strict tolerances.


