How to Color in Blender: Blender is a powerful open-source 3D modeling software that allows artists to create stunning visualizations. One of the most essential aspects of 3D modeling is applying color and textures to bring models to life. It is compatible with Windows, macOS, and Linux operating systems. Blender offers multiple 3D fields, such as 3d modeling, 3D animation, including sculpting, rigging, and rendering. In terms of using Blender, you have to know How to Color in Blender. You can do it in several ways Color in Blender. Whether you’re working on a game asset, an animation, or a product render, understanding how to color in Blender is crucial.
In this guide, we’ll explore the different ways to add color to your models in Blender, including using materials, texture painting, and procedural texturing.
Understanding Blender’s Coloring System
Understanding Blender’s color handling capabilities is crucial before beginning any coloring techniques:
Materials and Shaders: Materials determine how a surface responds to light, whereas shaders control characteristics such as transparency and reflectance.
Contrary to vertex painting, which paints individual vertices, texture painting enables intricate image-based coloring.
Image vs. Procedural Textures: Image textures use raster images, whereas procedural textures are created using mathematical techniques.

How to Color in Blender Using Materials to Add Color
Step 1: Pick a Model
Choose your 3D object after launching Blender. Change to the workspace for shading.
Step 2: Produce New Content
To create a material, select New from the Material Properties tab. A Principled BSDF shader in the Shader Editor lets you adjust the material’s attributes.
Step 3: Apply a Base Color in Step Three
Select the color you want by clicking the Base Color box. Other variables can be changed, such as metallic characteristics and roughness (for shiny or matte surfaces).
Step 4: Distribute the Content
Click Assign in the Materials tab to confirm the material is linked to your item.
Coloring with Texture Painting
Texture painting allows you to paint directly onto the surface of your model, perfect for adding details like scratches, gradients, or custom designs.
Step 1: Switch to Texture Paint Mode
Select your object and switch to Texture Paint Mode.
Step 2: Create an Image Texture
In the Shader Editor, add an Image Texture node. Click New to create a blank texture.
Step 3: Paint on Your Model
Use different brushes and colors to paint directly onto your model. Save the texture file to avoid losing your work.

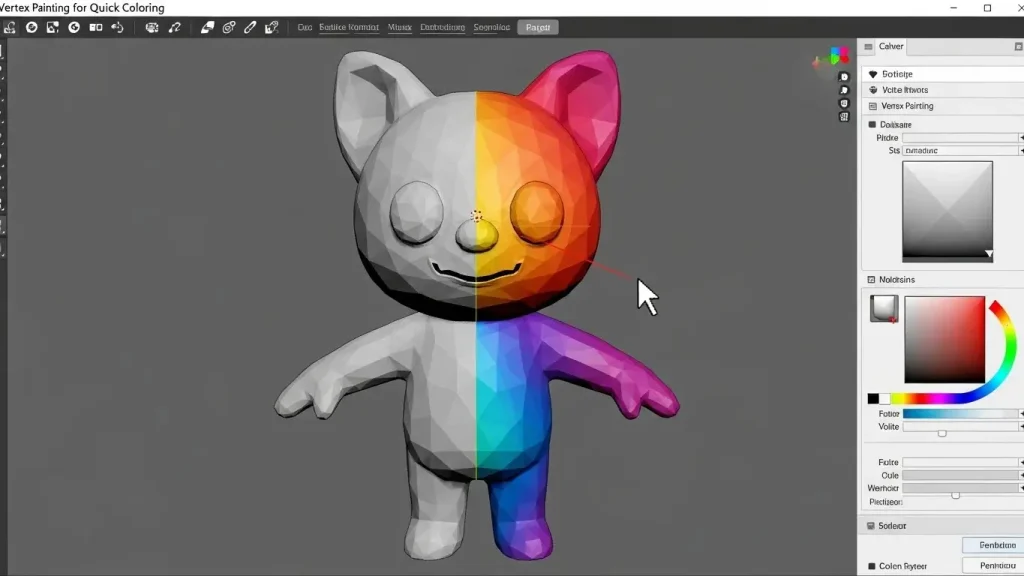
Using Vertex Painting for Quick Coloring
Vertex painting is a fast way to add color to your model without using textures.
Step 1: Select Vertex Paint Mode
Go to Vertex Paint Mode in the top-left menu.
Step 2: Choose a Color and Paint
Pick a color from the color wheel and start painting on your model.
Step 3: Apply Vertex Colors in the Shader Editor
Add a Vertex Color node in the Shader Editor and connect it to the Base Color input.
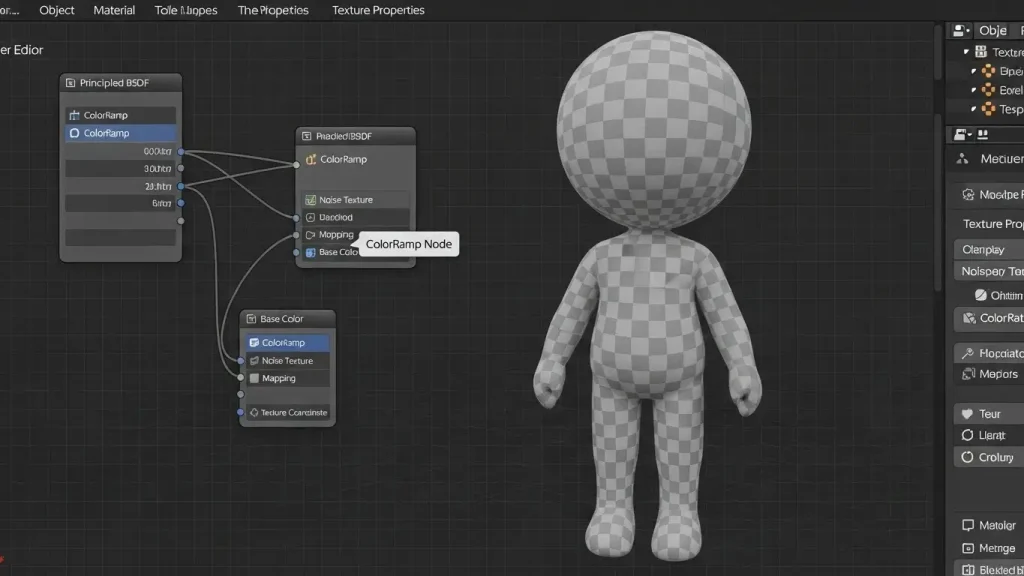
Applying Procedural Textures
Procedural texturing is a powerful way to generate patterns, gradients, and unique materials.
Step 1: Use a Procedural Texture
In the Shader Editor, add a Noise Texture or Gradient Texture node.
Step 2: Connect it to the Material
Connect the texture’s output to the Base Color of your Principled BSDF node.
Adjust the scale, detail, and distortion to get the desired effect.
Step 3: Use Mapping and Scaling
Add a Mapping Node and Texture Coordinate Node to control how the texture appears on your object.

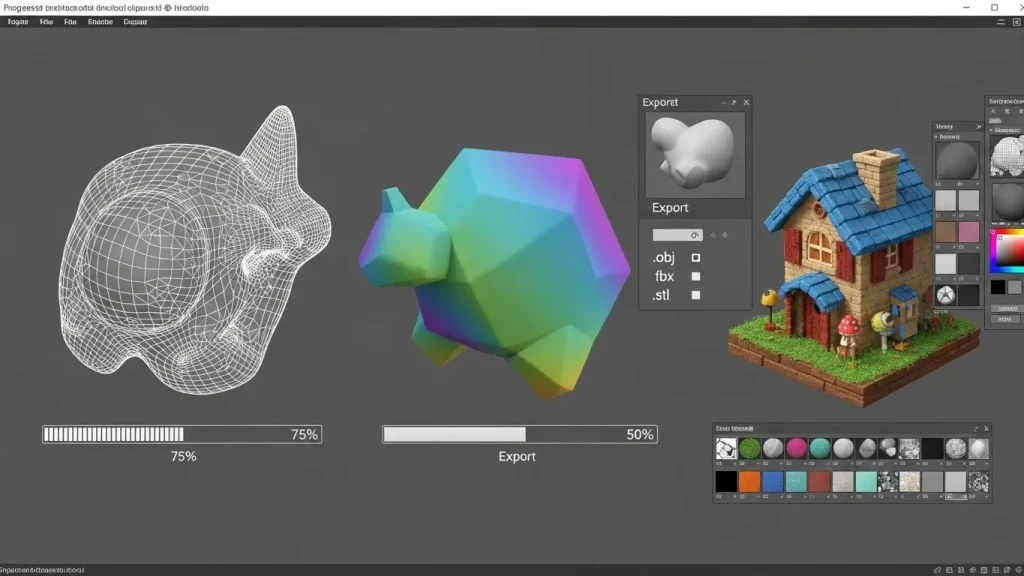
Rendering and Exporting Colored Models
- Setting Up the Scene
- Ensure you have proper lighting to showcase the colors.
- Choose between Eevee for fast rendering or Cycles for realistic lighting.
- Exporting with Colors
- If exporting a textured model, ensure the textures are packed into the Blender file.
- Use File > Export and select the desired format (e.g., FBX, OBJ, or GLTF).
Fixing Common Issues
Textures Not Showing in Render: Check if the material is properly assigned and the correct UV mapping is applied.
Color Appears Dull: Adjust lighting and shading settings.
Blurry Textures: Ensure the texture resolution is high enough and properly mapped.
Conclusion
Coloring in Blender is a fundamental skill that enhances the visual appeal of your 3D models. Whether using simple materials, painting textures, or experimenting with procedural shading, mastering Blender’s coloring techniques will heighten your 3D projects. Keep practicing and experimenting to create stunning, vibrant designs!
FAQ
How to color something in Blender?
To color something in Blender, select the object, go to Material Properties, click New, choose a base color, and apply the material to the object.
How do I color in Blender?
To color in Blender, select your object, switch to Texture Paint mode, choose or create a texture, then use the brush tools to paint directly onto the surface of the model.
How to fill color in Blender?
To fill color in Blender, select the object, go to Material Properties, click New, and choose a base color. The color will instantly fill the entire object.
How to paint with a brush in Blender?
To paint with a brush in Blender, select the object, switch to Texture Paint mode, choose a brush and color, then paint directly onto the surface of the model.
How do you change the color of a shape?
To change the color of a shape, select the shape, apply or edit its material, and choose a new color from the color or fill options of your design or 3D software.
How do I color my 3D model?
To color your 3D model, select it, switch to Texture Paint mode, create or assign a texture, then use the Brush tool to paint directly onto the surface of the model.


