How to Unhide Objects in Blender
Blender is a very powerful open-source 3D software. It is compatible with Windows, macOS, and Linux operating systems. Blender offers multiple 3D fields such as 3d modeling, and 3D animation including sculpting, rigging, and rendering. In terms of using Blender, you have to hide and unhide objects. You can do it in several ways to hide and unhide objects in Blender .
Three simple methods for revealing hidden objects in Blender
How to Unhide Objects in Blender: Each of the three methods for unhiding an object in Blender holds significance. Though you may find yourself frequently needing to unhide objects, you’ll likely utilize one of these methods each time.
Viewport Visibility Icons
It is the first step when you can manipulate, dispose, and hide or unhide an object in a blender. It is the main interface for modeling, sculpting, animating, and everything else that you do in Blender. You can easily zoom, rotate, move and also switch different shading modes. In a 3D viewport, the hiding objects can be a conclusive part of your workspace. The viewport visibility icons follow some provisions unhide an object.
Object selection is the fundamental skill in the 3D viewport of any modeling software. There is a reason for saying object selection is a primary skill because we can not hide any object in the viewport if is not already selected. You have to know how to select an object. When you wish to select an object, you should follow these methods.
1st method
Select the object mode. The object option can be found in the blender’s upper left corner. Click on the left in the viewport. You can select as you wish, If you wish to select multiple objects, lay down the the Shift key and then click on the objects you want to select.
2nd method
The eye icon on the right side of each object in the outline panel. Clicking on this eye icon visibility of the object. When the icon is surpassed, the object is hidden; when it’s clear, the object is visible.
Once an object or group of objects is selected, you can operate it according to your choice, such as moving, rotating, and hiding the object.
Unhide objects using the Outliner
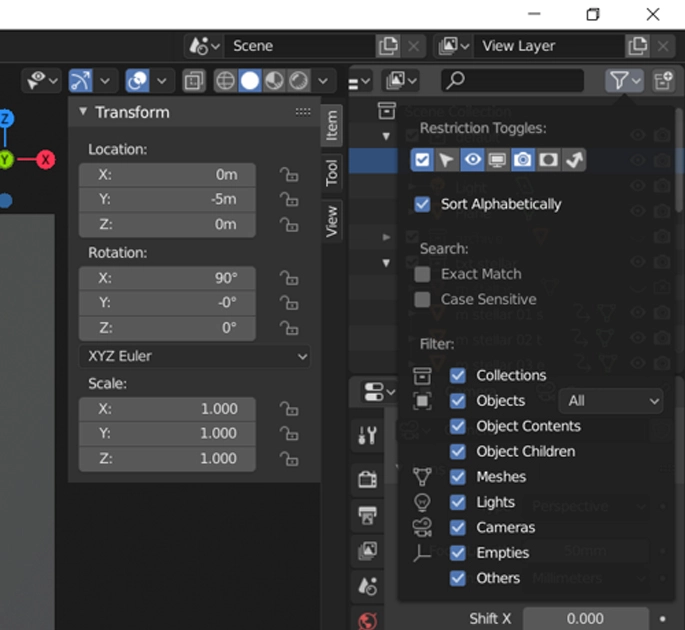
The Outliner is decisive in practically hiding objects from the 3D viewport. It displays the structure of your scene in a tree format, where they represent an object.
You can extend or spill these to disclose or hide veil their details. To hide an object from the 3D viewport, firstly, we need to locate it in the Outliner. Then use the search function at the top of the Outliner if you’re unsure where your object is located use the search function. When you’ve found the object, you can easily hide it by clicking on the eye icon next to its name.
Remember that, hiding objects will not be permanently removed from the outline. Deleting an object is the only way to remove or deface it permanently.
You can simply use the outline. When you want to work quickly and need to hide many complex objects, you can organize them into a file and easily hide them all together. The outline allows you to organize your objects into collections. Collections mean you can generate different kinds of folders that comprise complex objects.
Short brief
Another method is to use hotkeys. Select the object and press H on your keyboard. The object will disappear or hide. You have to press “H” to hide or “Alt + H” to unhide the objects.
Unhide object in a final render:
If we turn off the visibility of the object or unhide the object visibility in a final reader from the outliner, the visibility in your final render re-activate by unhiding using the Alt+H shortcut.
How Do You Hide Or Unhide An Object’s Face in A Blender?
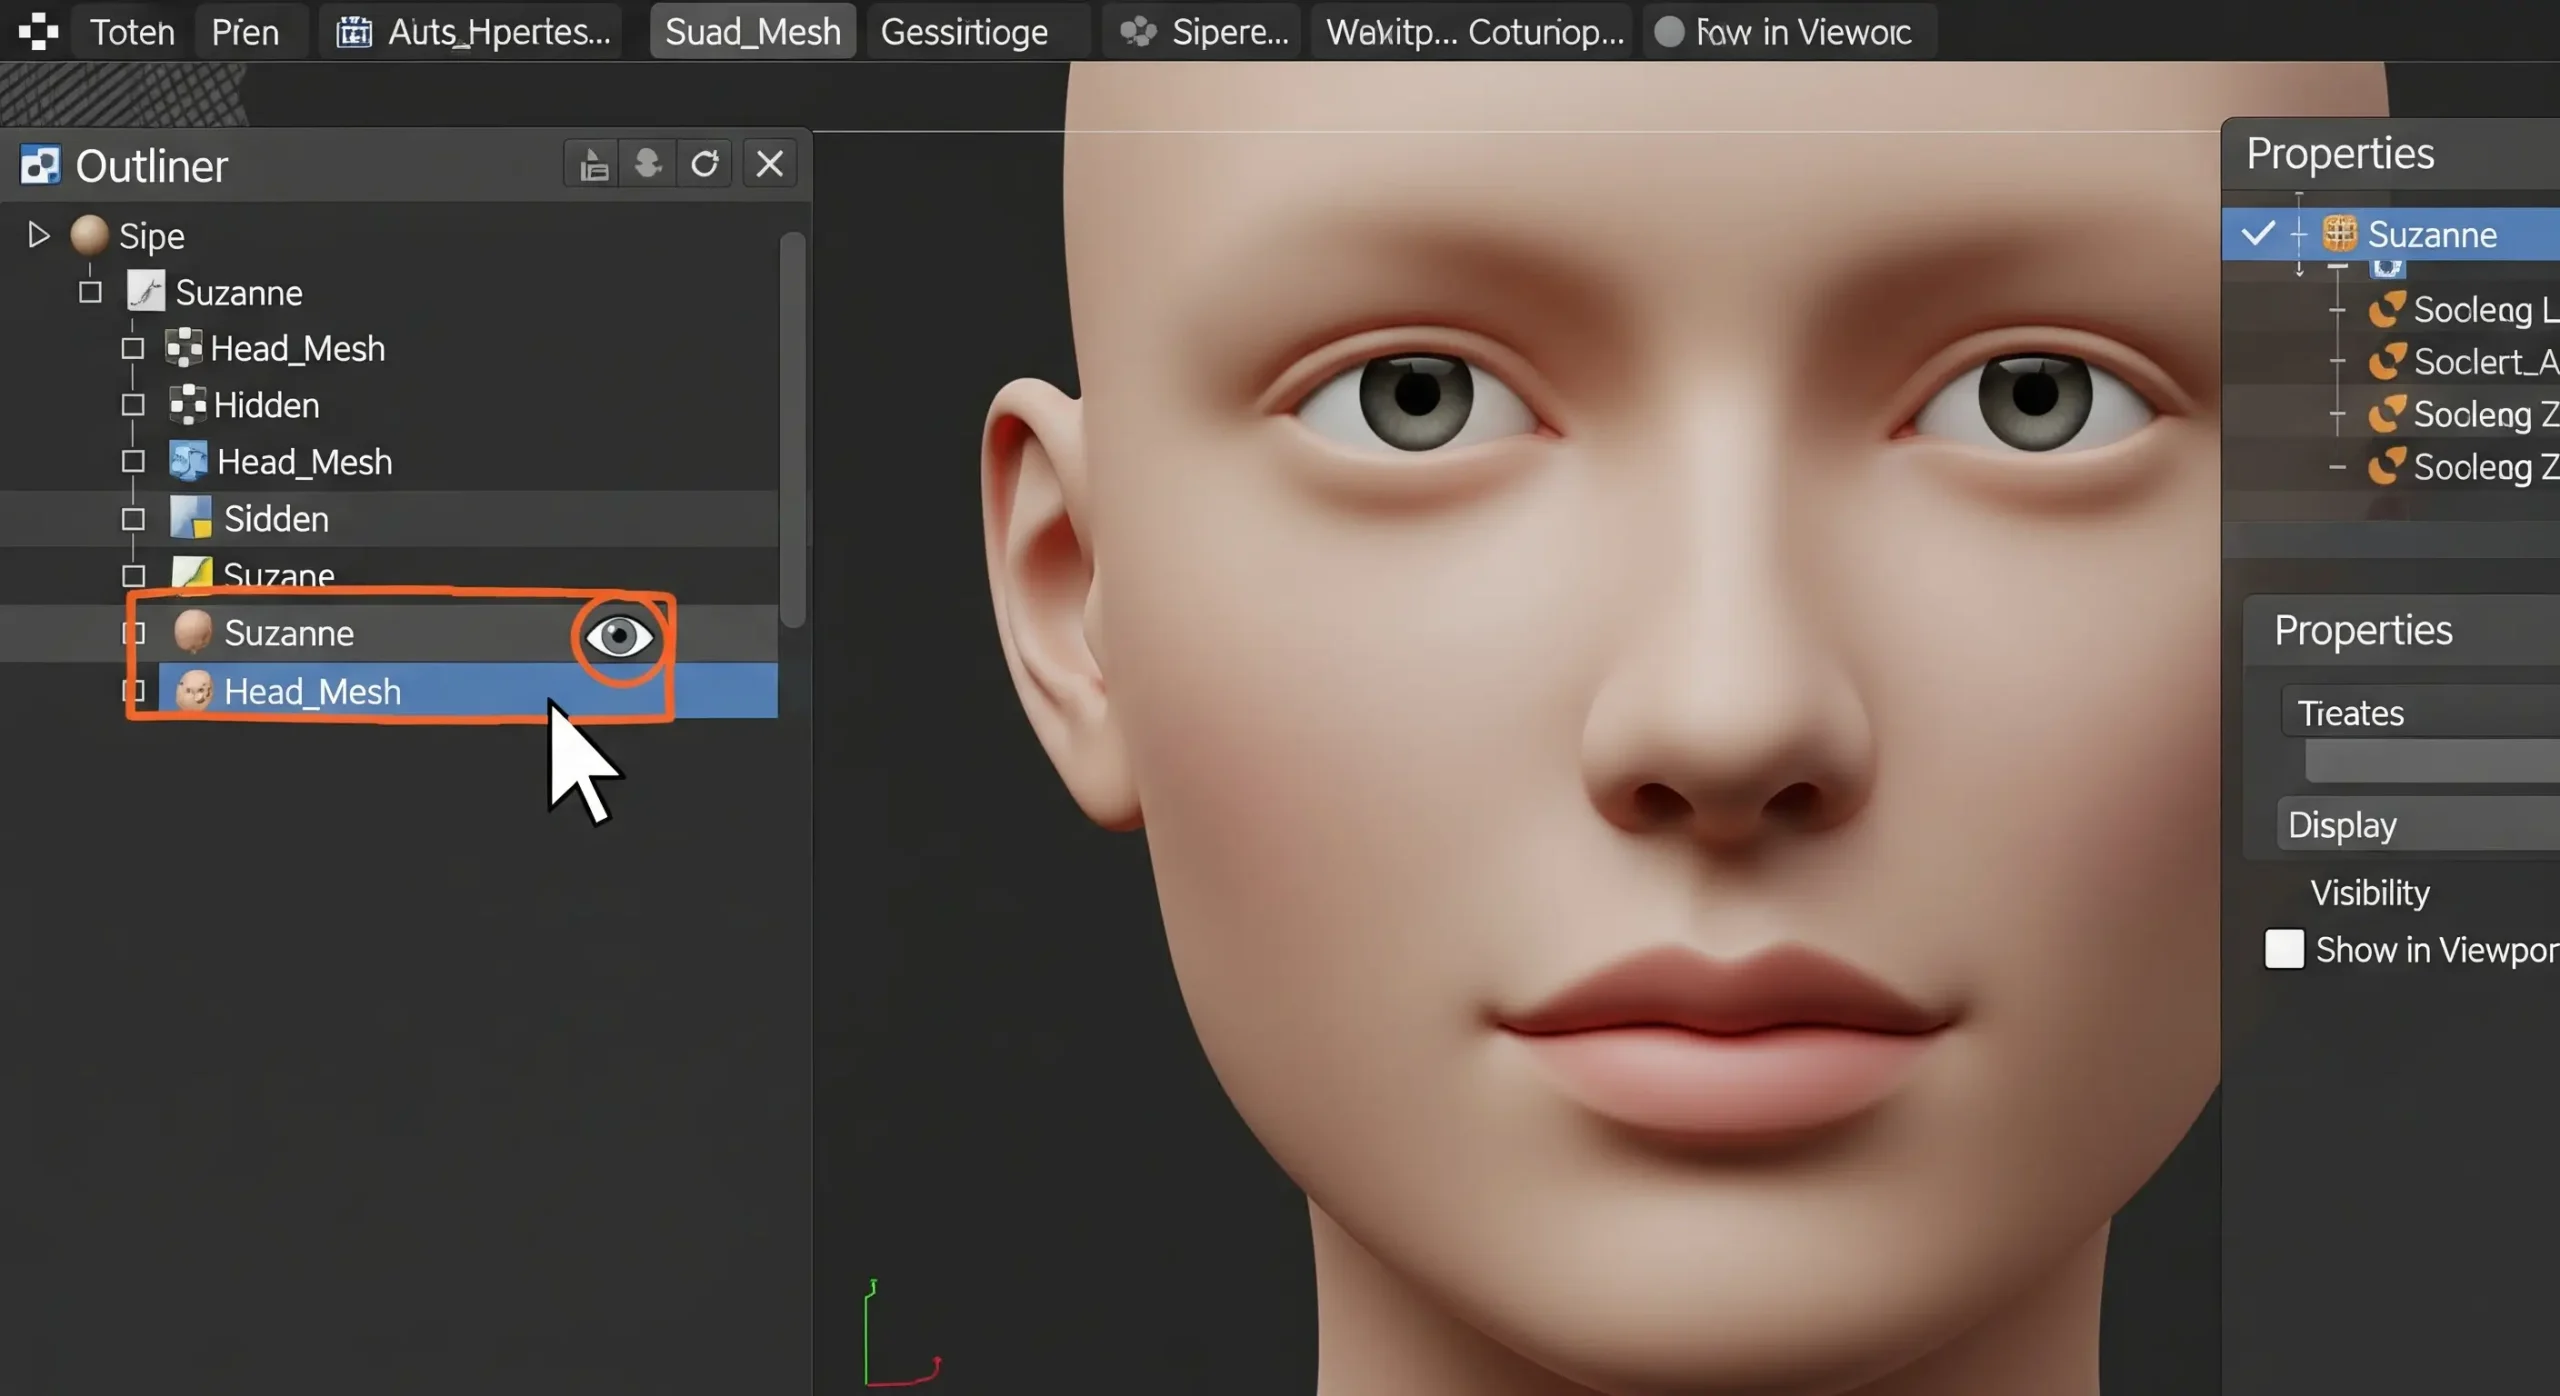
Sometimes you might want to hide a specific part of an object. How would you do that?
This method allows for selective hiding and unhiding of faces within an object, providing control over which parts of the object are visible.
First of all, you need to do is change from object mode to edit mode. The edit mode is to select the edit option manually. Also, the easy way is to press the Tab Key on your keyboard.
Now select the specific part of the object in the blender. Once you have selected a particular face, press the H key on the keyboard. This will hide that particular area. Do you want to unhide? Then, press Alt+H to unhide.
Some shortcuts rule To Hide And Unhide Objects In A Blender
Shortcuts are an effective way to hide and unhide an object in a blender. It also helps you to save your valuable time. Using this shortcut technique, you can comfortably hide and unhide an object or any particular part. Here is a list of some shortcuts to hide and unhide an object in a blender.
H – H means Hide. Pressing the H key hides the selected plexus.
Alt+H – It does the converse thing. To debunk the hidden objects, press Alt+H.
Alt+B – Clip View, Which is essential in certain cases
Alt+B again – Unclip view
Shift+H – Hide Unselected
Hopefully, by this point, you have found a solution and are aware of several approaches to finding objects hidden in 3D Blender. These shortcuts can greatly speed up your workflow.
Why you should hide and unhide an object?
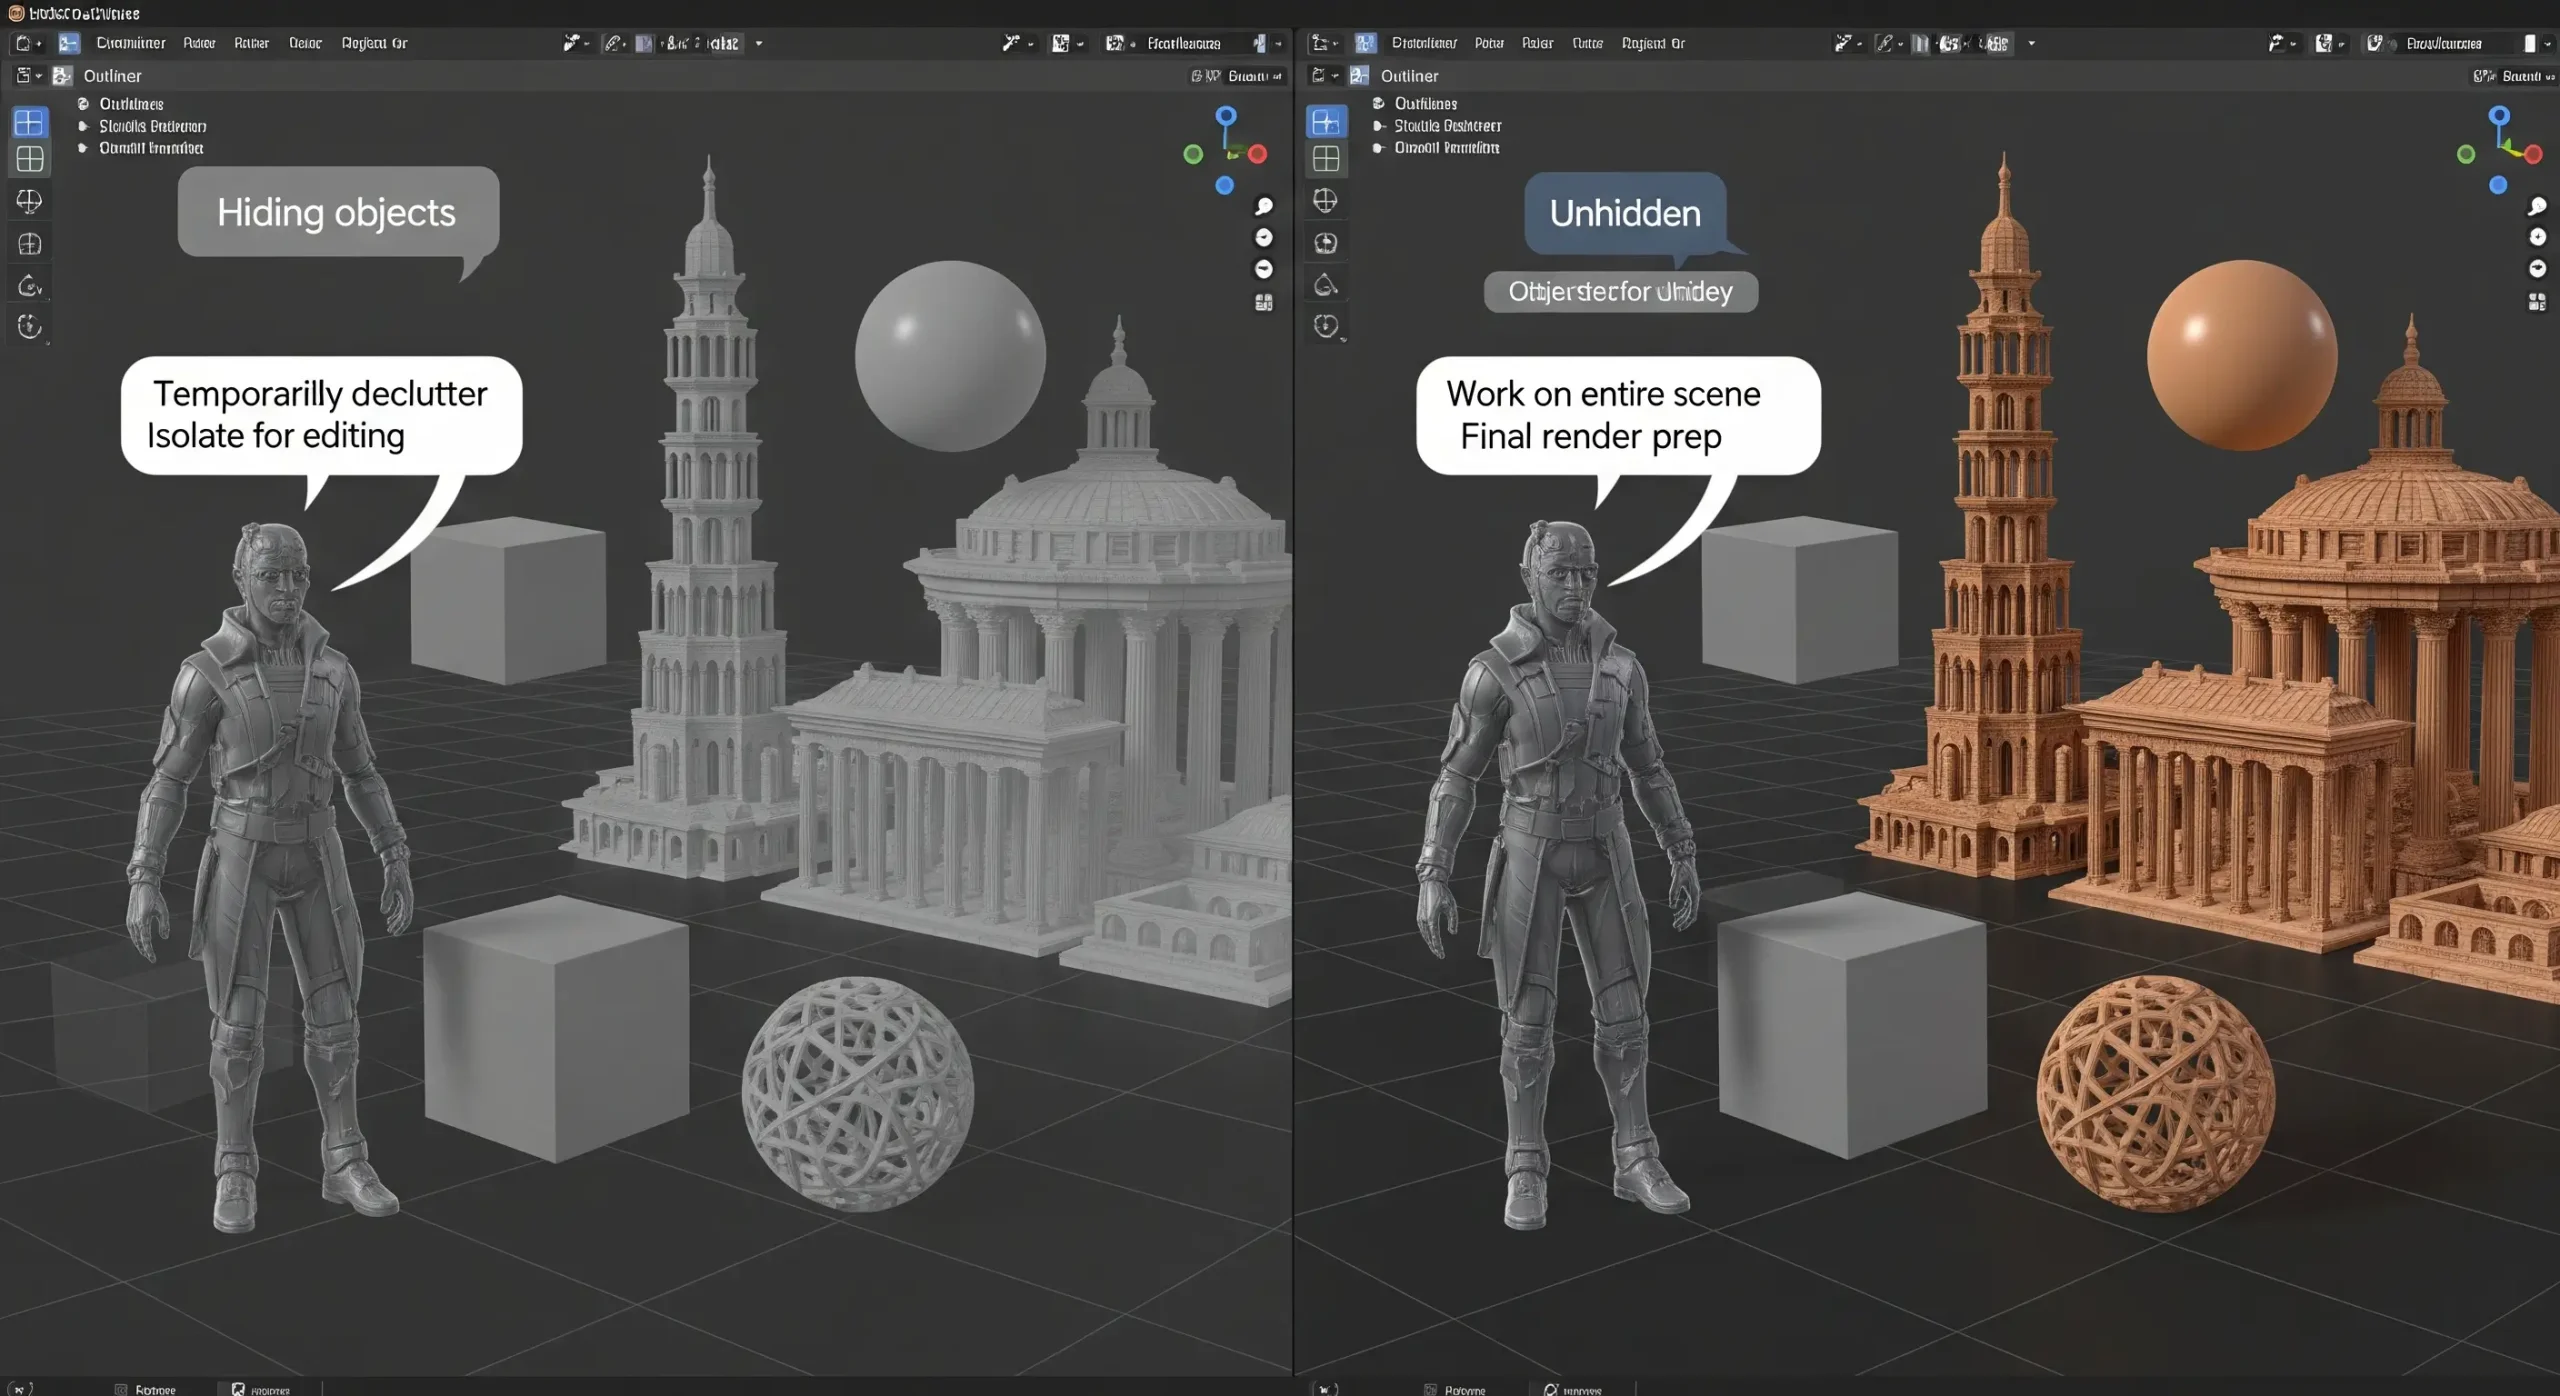
Hiding and unhiding objects can be a useful technique for improving clarity, security, and user experience across various domains. People can use it depending on their context. This can help avoid visuals and ensure that the audience’s focus is directed where it’s intended. When you work with very complex and large files, hiding and unhiding objects is the only way you can organize all files easily and it is very time-saving. In 3D modeling or using CAD software, hiding certain model components can simplify the view.
It gives strong security and privacy. In software applications or data visualization tools, hiding certain sensitive objects or information from unauthorized users can be decisive for maintaining security and privacy.
Conclusion
Hiding or unhiding objects is not a difficult task to learn. Blender offers multiple methods for hiding and unhiding objects within its 3D environment. Whether through the use of shortcut keys, the Outliner panel, or the viewport visibility settings, users have versatile options to manage object visibility efficiently. By mastering these techniques, Blender users can streamline their workflow and focus on creating stunning 3D scenes with ease.


