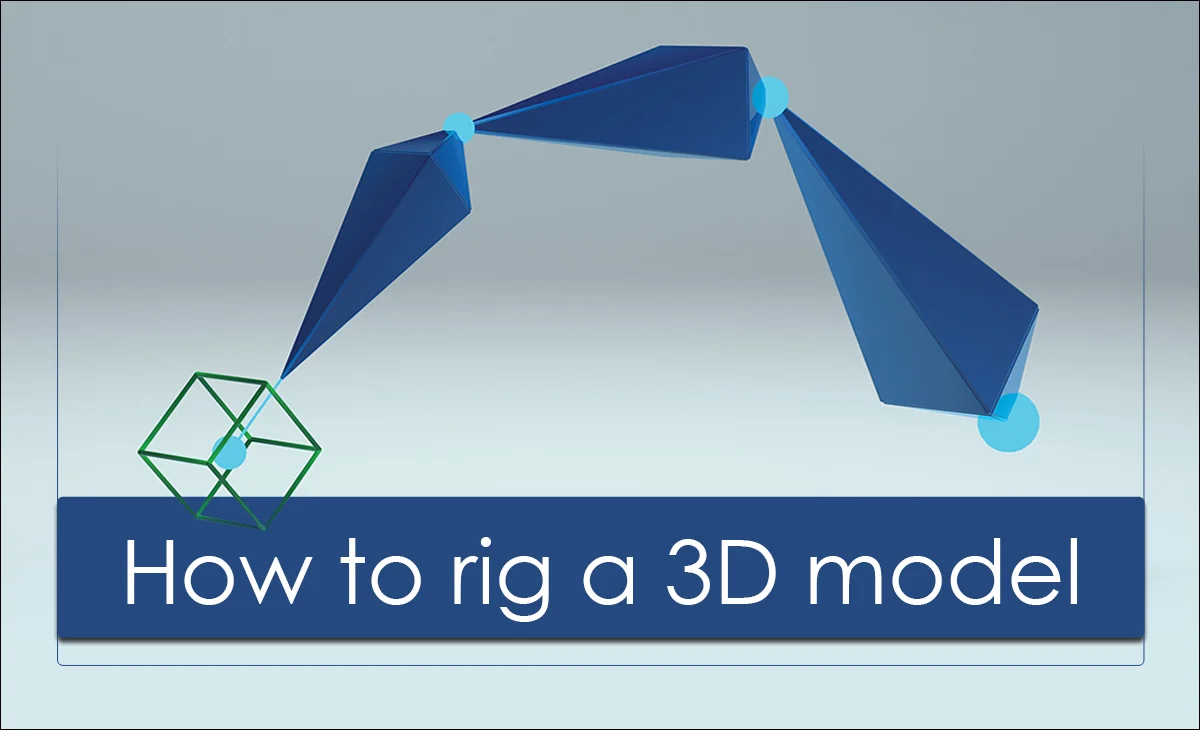
How To Rig A 3D Model: To make a static 3D model into a movable realistic animation of any object, you must apply the 3D rigging method. It helps to run a model smoothly on the computer. Overall 3D rigging is the foundation of 3D animation and it is the most critical part of CGI animation. 3D rigging is a fundamental process in computer animation and 3D modeling that involves creating a skeletal framework within a 3D model to enable it to move and be animated. This process starts with creating a virtual skeleton consisting of interconnected bones and joints that define the model’s structure and movement capabilities. Let we learn how to rig a 3d model
What is 3D Rigging?
3D rigging is also called skeleton rigging. 3D rigging is a process used in 3D computer graphics to create a skeleton for a 3D model, which allows it to move and be animated. This skeleton, often referred to as an armature or rig, consists of a series of interconnected bones that correspond to the structure of the model. 3D rigging is a critical step in the animation process, as it provides the framework that animators use to bring characters and objects to life. Without a well-constructed rig, achieving realistic and expressive animations would be very difficult.
3D Rigging Terms You Must Know About
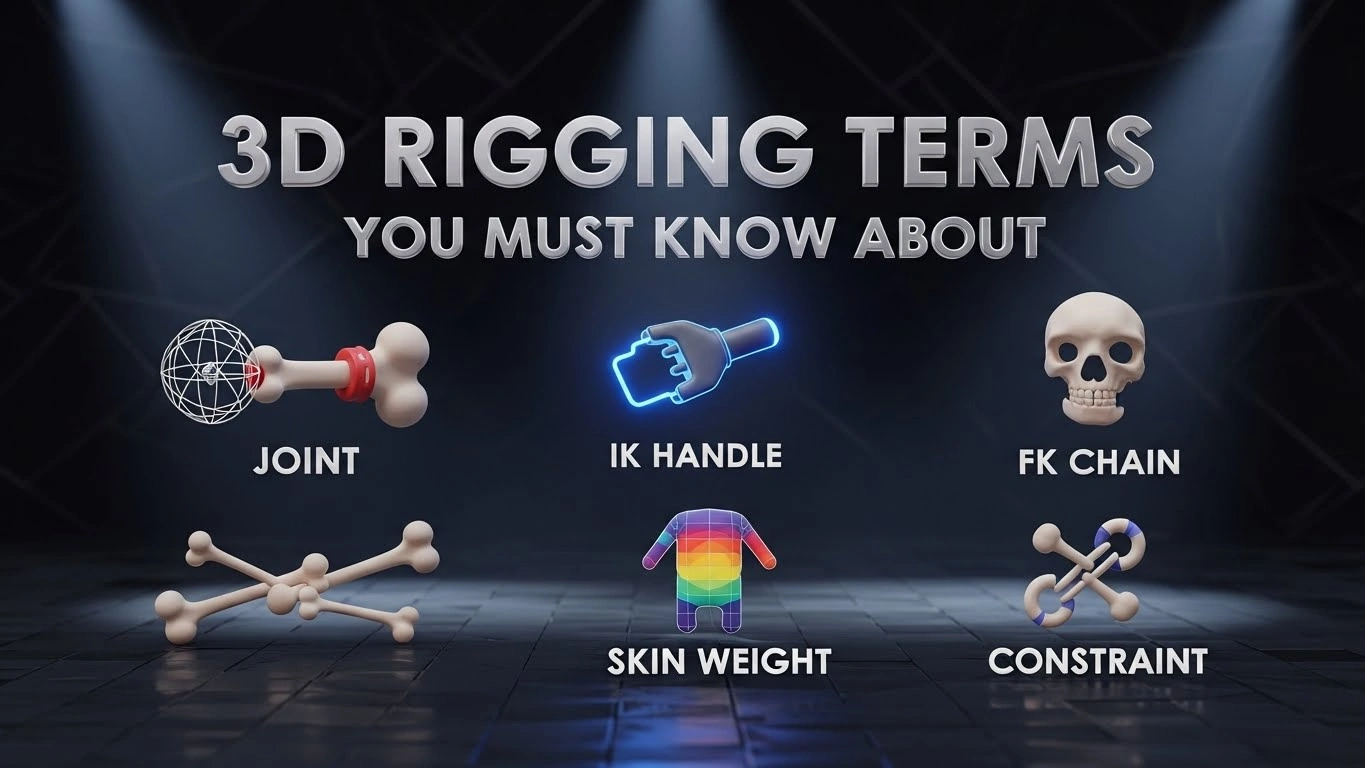
Before creating a 3D model, you must know some basic terms of 3D rigging.
Armature
Another term for the skeleton or rig. The structure of bones drives the deformation of the 3D model.
Bones
Components of the armature that act like joints in a real skeleton. Each bone can be moved, rotated, and scaled to pose and animate the model.
Skinning
The process of attaching a 3D model to the armature so that the model deforms correctly when the bones are moved. This often involves assigning weights to vertices to control their influence on each bone.
Weight Painting
A technique used in skinning to paint weights directly onto the vertices of the mesh. This helps define how much influence each bone has on different parts of the mesh.
Vertex Weights
Values assigned to each mesh vertex during skinning determine how much each bone influences that vertex.
Constraints
Rules or restrictions are applied to bones to control their movement. Common constraints include limiting rotation, translation, or scale, and creating dependencies between bones.
Inverse Kinematics
A method where the position of the end of a chain of bones (like a hand or foot) is controlled and the positions and rotations of the preceding bones are calculated automatically. This is particularly useful for animating limbs.
Forward Kinematics
A method where each bone in the chain is rotated individually, starting from the root and moving to the end. This gives more precise control over each bone but can be more time-consuming than IK.
Rig Controls
User-friendly interfaces or objects are added to a rig to simplify the animation process. These controls often include handles, sliders, and custom attributes.
Pose
A specific arrangement of the bones in the rig. Posing is used to create keyframes in the animation process.
Blend Shapes
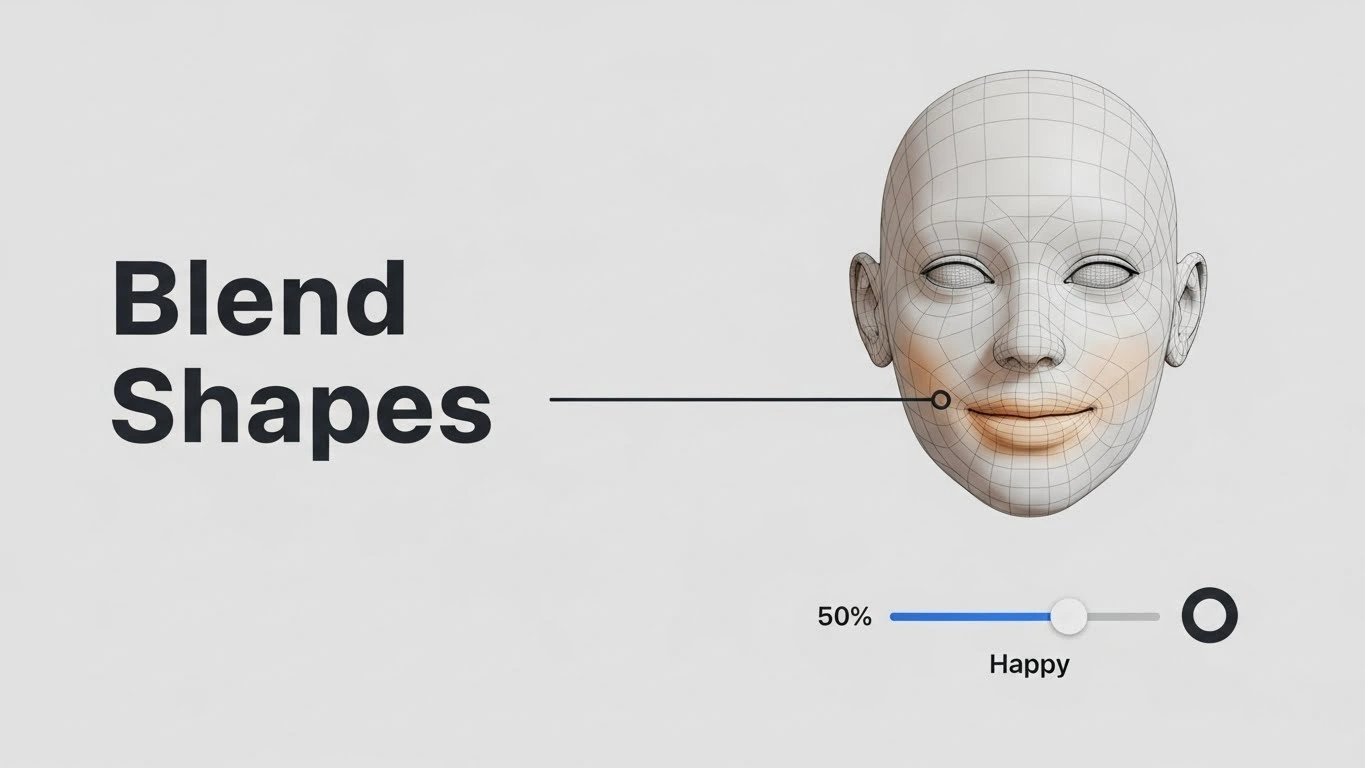
These are used for facial animation and other complex deformations. They involve creating different shapes or poses of the mesh and blending between them to create smooth transitions.
Deformers
Tools or modifiers that change the shape of the mesh in various ways. Common deformers include bend, twist, and lattice deformers.
Hierarchy:
The parent-child relationship between bones in a rig. Moving a parent’s bone will also move its child’s bones, but moving a child’s bone does not affect the parent.
Joint
Another term for a bone specifically refers to the pivot point around which the bone rotates.
Binding
The process of connecting the mesh to the armature so that the mesh moves with the bones.
Controllers
Objects are used to manipulate the bones and other aspects of the rig. They are often easier to select and move than the bones themselves.
Pole Vector
A control used in IK systems to dictate the orientation of the elbow or knee joints, preventing undesirable flipping or twisting.
Root Bone
The top-most bone in the hierarchy is usually located at the character’s base.
Skeleton
The complete set of bones that make up the armature of the 3D model.
Animation Rig
The final setup includes the armature, controls, constraints, and any other elements needed for animation. Understanding these terms will provide a solid foundation for learning and working with 3D rigging in 3D modeling and animation software.
How to rig a 3D model?
Skinning
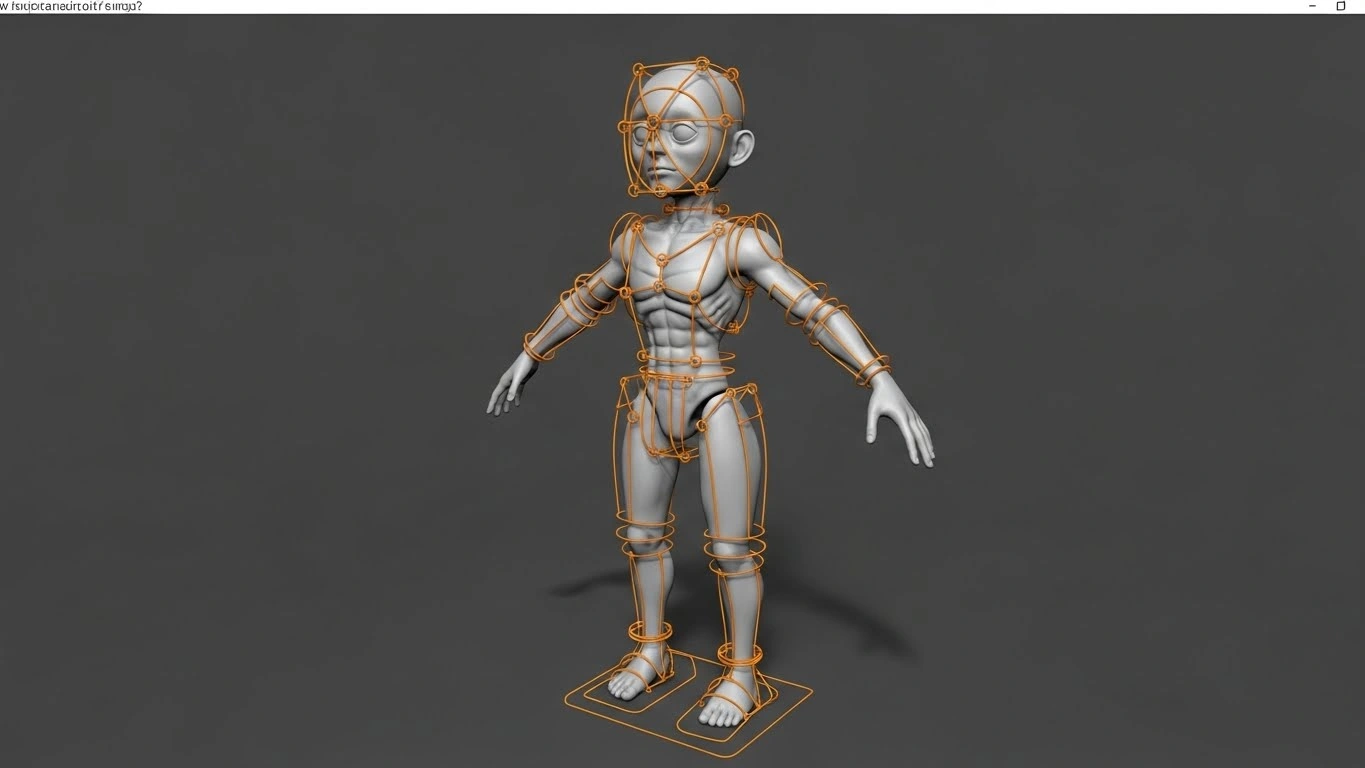
Without doing skinning you can’t do rigging. It helps to connect bones to characterize the skeleton. Rigging requires skinning to animate a 3D character. After creating the polygonal model, the character appears as a digital mesh. Rigs, or groups of connected bones, are inserted into this mesh. Each bone is then linked to specific polygons, allowing for detailed movements of body parts and facial expressions.
Controlling
In this step, the 3D model rigger creates controllers in various geometric forms to manage the model’s movements. Common shapes include diamonds for rotating and translating the model’s feet and hands, spheres for rotating the torso, neck, and pelvis, cubes for translating controls, and trapezoids for joints like knees and elbows. After designing the skeleton, the rigger adds movements and facial gestures. The bones are connected hierarchically, resembling a parent-child relationship.
Set up joints
This step includes adding joints to define the movement limitations of the model and performing weight painting. Weight painting determines how each part of the 3D model interacts with the bones, ensuring realistic and natural movement by influencing how much weight each part exerts on the bones.
Adjust kinematics
Rigging follows the laws of physics, including kinematics, which governs movement principles. Forward kinematics occurs when adjustments to the upper body affect the lower body, while inverse kinematics is when the lower body affects the upper body. Proper adjustment of both is essential for realistic movements.
Conclusion
Aspiring character riggers follow a journey to become experts, starting with a solid understanding of animation principles. They keep improving their skills and building connections in the industry. Becoming a skilled character rigger involves a mix of technical know-how, artistic creativity, and a strong passion for the work. Hopefully you can get the answer of the question of ‘How to rig a 3D model’ from this blog.


